Check out this Youtube video: Learn how to make your own unique antler chandelier with this easy DIY tutorial – perfect for adding a rustic touch to any space!

Contents
Finding the Right Antlers
Sourcing antlers from ethical and legal sources
To ensure you are sourcing antlers responsibly, it’s crucial to abide by ethical and legal guidelines. Start by checking with the U. S. Fish and Wildlife Service for regulations on shed antler collection.
Be aware that shed collection may have specific seasons and could require a permit. Always prioritize ethical collecting practices, and never engage in illegal or unauthorized activities.
When looking for ethically-sourced antlers, consider purchasing them from reputable sellers who have documentation proving their compliance with regulations. This can include antique shops that have legal antlers or certified sellers who source antlers from ethical suppliers.
It’s essential to prioritize sustainability and wildlife protection in your pursuit of antlers for crafting chandeliers.
Moreover, consider supporting organizations that promote ethical wildlife practices and responsible sourcing of animal-derived materials. By aligning with such entities, you can contribute to the preservation of natural habitats and the fair treatment of wildlife.
Cleaning and preparing antlers for use
Cleaning and preparing antlers for chandelier-making involves several essential steps to ensure optimal results. Once you have sourced the antlers from legal and ethical sources, the first step is to clean them thoroughly.
This can be accomplished by applying water and soap to a towel and gently wiping the antlers to remove any dirt or debris.
Next, consider whitening antlered skulls by soaking them in a solution of hydrogen peroxide. This process is particularly effective in achieving a bright and clean appearance for the antlers.
It’s important to follow recommended safety precautions when handling chemicals and to ensure proper ventilation during the whitening process.
Should you opt to create antler chandeliers from newly acquired antlers, securing the antler in a vise is crucial for stability during the crafting process. Utilizing a drill press is preferred for drilling purposes, ensuring precision and safety.
Furthermore, ensuring the antler is securely affixed will facilitate ease of handling during the crafting process.
When preparing to assemble antler chandeliers, natural sheds are often preferred over other antler development stages for crafting purposes due to their distinct characteristics and durability. Utilizing high-quality adherents such as CA or epoxy for bonding and assembly is paramount to achieving a durable and visually appealing chandelier.
By carefully adhering to these steps, you can ensure the successful creation of a stunning antler chandelier that reflects your commitment to ethical sourcing and craftsmanship.

Assembling the Chandelier
When it comes to drilling and connecting antlers for an antler chandelier, it’s crucial to exercise precision and caution. Begin by using a Dremel tool with a conical sanding fitting to create an initial hole in the hard surface of the antler. Following this, utilize a drill to craft a hole approximately 0.5mm smaller than the screw size you intend to use. Once the initial drilling is complete, insert the screws, ensuring they are threaded seamlessly without protruding on the antler surface.
Moving on to adding the lighting elements to the chandelier, consider the placement and distribution of the lighting fixtures. Carefully hollow out the antlers to accommodate the wiring and lighting components. For each antler, affix the lighting elements securely, ensuring they are seamlessly integrated into the chandelier structure to guarantee stability and safety.
To further illustrate the process of assembling the chandelier, a detailed step-by-step guide is provided in the table below:
| Step | Process |
|---|---|
| 1. | Use a Dremel tool with a conical sanding fitting to create an initial hole in the hard surface of the antler. |
| 2. | Utilize a drill to craft a hole approximately 0.5mm smaller than the intended screw size. |
| 3. | Thread the screws into the drilled holes, ensuring they are seamlessly inserted without protruding. |
| 4. | Hollow out the antlers to accommodate the wiring and lighting components. |
| 5. | Affix the lighting elements securely, ensuring seamless integration for stability and safety. |
By conscientiously following these detailed steps, individuals can effectively assemble a stunning antler chandelier.
Question: How to Make Antler Chandelier?
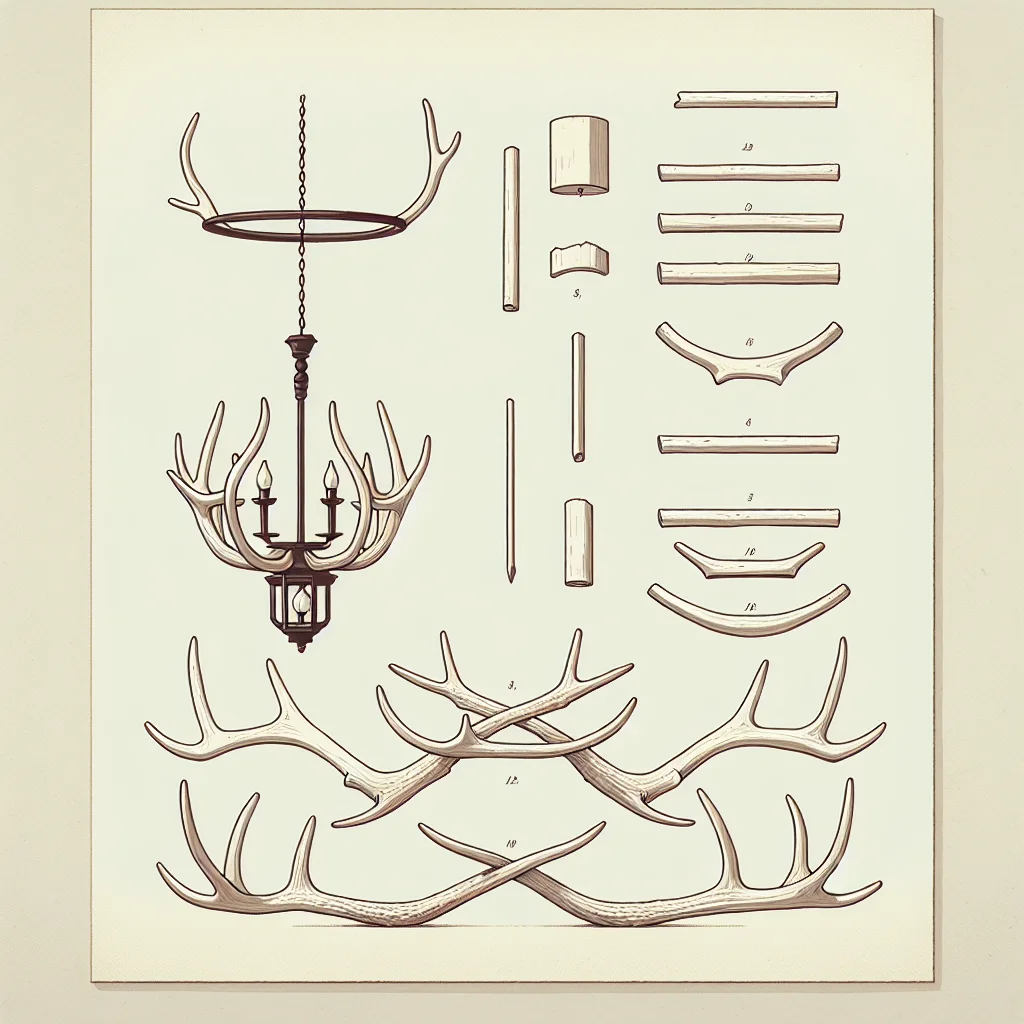
To make an antler chandelier, you’ll need to follow a step-by-step process that involves selecting and assembling the antlers to create a stunning lighting fixture. Here’s a comprehensive guide to help you create your own unique antler chandelier.
Step-by-Step Guide on Assembling the Antler Chandelier
-
Gather Antlers: Start by collecting a variety of deer or elk antlers, ensuring you have a minimum of 50 antlers to work with, depending on the size and complexity of the chandelier.
-
Prepare Antlers: Clean the antlers thoroughly by using a gentle cleaning solution and a soft cloth to remove any dirt and debris. This step is crucial for ensuring the chandelier looks its best.
-
Design the Layout: Lay out the cleaned antlers to visualize the chandelier’s shape and size. Experiment with different arrangements to determine the best configuration.
-
Assemble the Chandelier Frame: Use a sturdy chandelier base or frame as the foundation for your creation. Ensure the base is secure and can support the weight of the antlers.
-
Attach Antlers: Begin attaching the prepared antlers to the chandelier frame, ensuring they are firmly secured and evenly spaced to create a balanced and aesthetically pleasing design.
-
Secure the Antlers: Depending on the chandelier’s size and design, you may need to use screws, adhesives, or specialized hardware to secure the antlers in place.
-
Test the Stability: Once the antlers are attached, carefully test the stability and balance of the chandelier to ensure it can support its weight and withstand movement.
-
Add Lighting Components: Install the necessary lighting components, such as sockets, bulbs, and wiring, to transform the chandelier into a functional and striking light fixture.
-
Personalize the Chandelier: Consider adding embellishments or decorative elements to personalize the chandelier and elevate its visual appeal.
-
Final Touches: Conduct a thorough inspection to ensure all components are securely fastened, and make any necessary adjustments to achieve the desired look.
Antler Chandelier Assembly Supplies
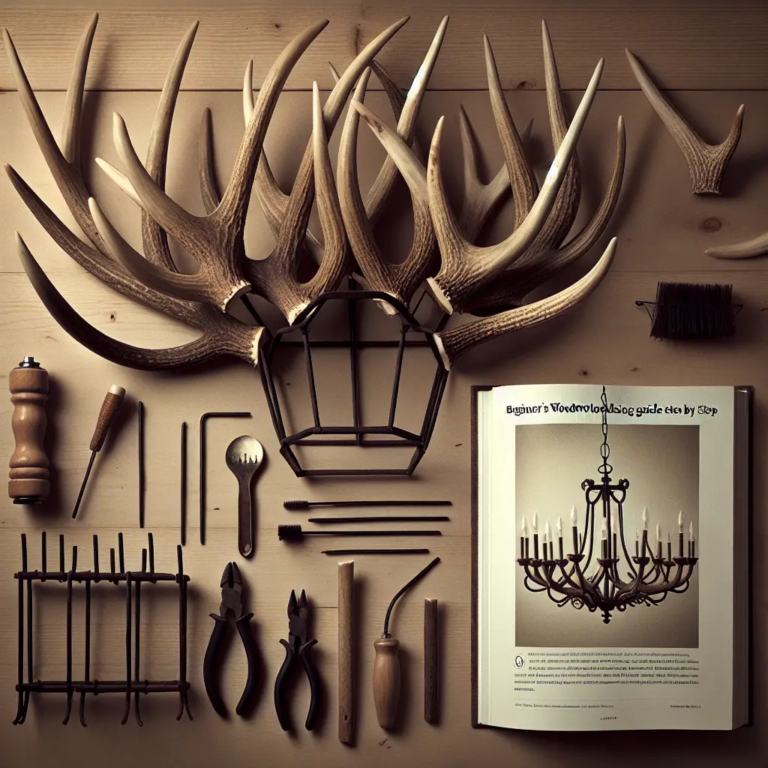
The following table lists the essential supplies you’ll need to assemble your antler chandelier:
| Supply | Description |
|---|---|
| Antlers | Diverse selection of cleaned deer or elk antlers |
| Chandelier Frame/Base | Sturdy structure to support the chandelier |
| Cleaning Solution | Gentle cleanser for antler preparation |
| Mounting Hardware | Screws, adhesives, or specialized fasteners |
| Lighting Components | Sockets, bulbs, wiring, and other electrical parts |
By following this step-by-step guide and being creative with the design, you can craft a stunning antler chandelier that serves as an exceptional focal point in any space. Happy crafting!
Decorating and Finishing Touches
After successfully crafting your stunning antler chandelier, it’s time to delve into the delightful world of adding decorative elements and seamlessly installing the chandelier in your space.
Adding decorative elements
Incorporating decorative elements into your antler chandelier can elevate its overall appeal and contribute to the aesthetic beauty of your space. Consider adorning the chandelier with exquisite crystal accents or delicately intertwining metallic ribbons to infuse a touch of elegance. Additionally, incorporating dried floral arrangements can bring a natural, organic vibe to the chandelier, adding a unique charm to your decor.
Investing in decorative candle sleeves can impart a classic and luxurious feel to the chandelier, enhancing its visual appeal while illuminating your space with a warm and inviting glow. Furthermore, don’t overlook the power of colored light bulbs to create an enchanting ambiance, allowing you to customize the chandelier’s illumination to suit various moods and occasions.
Another striking decorative element for your antler chandelier is the incorporation of sparkling gemstones like amethyst or quartz, elevating its grandeur and turning it into a mesmerizing focal point in your room. Furthermore, weaving sleek fabric bands around the chandelier arms can infuse a touch of opulence, creating a captivating visual contrast within your space.
To add a touch of whimsical flair, consider suspending dangling charms or small trinkets from the chandelier, each with its own unique story and significance, creating an intriguing conversation piece that resonates with your personal style and sensibilities.
By integrating these diverse decorative elements, you can transform your antler chandelier into a captivating masterpiece that deftly complements your interior design, infusing your space with enchanting allure and timeless elegance.
Installing the chandelier in your space
Upon completing the embellishment of your antler chandelier with intricate decorative elements, the next essential step is seamlessly installing it in your space to maximize its visual impact and functional efficacy.
Before commencing the installation process, it’s crucial to carefully evaluate and determine the optimal placement of the chandelier within your space to ensure balanced illumination and a harmonious visual composition. Strategically positioning the chandelier over a prominent furniture piece like a dining table or in the center of a room can enhance its visual prominence and functional utility.
Ensure that the chosen location for the chandelier aligns with your intended decorative scheme and spatial dynamics, allowing its captivating presence to seamlessly integrate with the overall aesthetic of the room. Additionally, consider the height of the chandelier and its clearance from the ceiling to guarantee a harmonious spatial arrangement that exudes a sense of grandeur and sophistication.
As a crucial step, it’s imperative to engage in meticulous and secure mounting of the chandelier to the ceiling, ensuring that it can withstand its weight and maintain stability over time. Employ professional assistance if necessary to execute this task with precision and adherence to safety standards, safeguarding both the chandelier and the integrity of your space.
Moreover, meticulously attaching and wiring the chandelier to the designated electrical source demands diligent attention to detail to ensure seamless functionality and safe operation. It’s imperative to comply with electrical regulations and safety guidelines during this process, prioritizing both aesthetic finesse and operational safety.
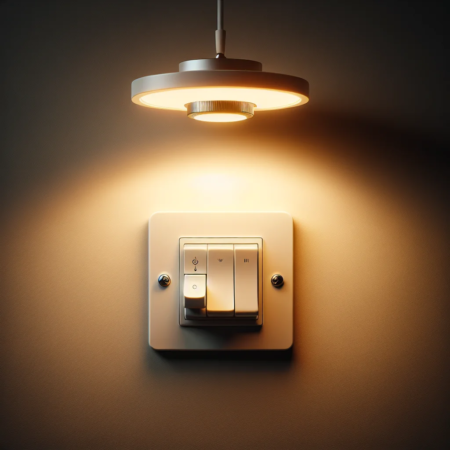
It’s also essential to review and optimize the chandelier’s dimmer compatibility to facilitate personalized lighting control, empowering you to create custom lighting atmospheres that perfectly suit diverse occasions and moods within your space.
Furthermore, embracing durable and aesthetically pleasing ceiling medallions can add a captivating finishing touch to the chandelier installation, highlighting its visual impact and elevating the overall elegance of your space.
By candidly addressing the intricacies of adding decorative elements and executing a meticulous installation process, you can seamlessly integrate your exquisite antler chandelier into your space, fashioning a captivating centerpiece that embodies timeless sophistication and artistic allure.


