Check out this Youtube video on “How to Install a Chain Link Chandelier” by Canarm for a step-by-step guide on hanging a chandelier with a chain!

Contents
- 1 Choosing the Right Chandelier Chain Length
- 2 How to Hang a Chandelier with a Chain
- 2.1 Gather the necessary tools and materials
- 2.2 Turn off the power to the existing light fixture
- 2.3 Remove the old light fixture and electrical box
- 2.4 Install the mounting strap and electrical box
- 2.5 Attach the chandelier chain to the ceiling
- 2.6 Connect the chandelier wires to the electrical supply
- 2.7 Secure the chandelier canopy and adjust the chain length
- 2.8 Turn the power back on and test the chandelier
- 3 Safety Tips for Hanging a Chandelier with a Chain
- 4 Maintaining and Cleaning a Chandelier
- 5 Question: How to Safely Install a Chandelier with a Chain?
- 6 Frequently Asked Questions
Choosing the Right Chandelier Chain Length
To choose the right chandelier chain length, you need to measure the ceiling height accurately. For ceilings up to 8 feet high, the recommended chandelier chain length is 30 inches, while ceilings higher than 8 feet should have a standard clearance between 36 to 40 inches. Once you have determined the ideal chandelier height from the floor by subtracting the clearance from the ceiling height, consider the design and style of the chandelier to ensure it complements your space and select the desired hanging height based on the room setting.
The information provided is not a yes or no type of question.
Measure the ceiling height
To determine the ideal chandelier chain length, it’s crucial to measure the ceiling height accurately. For ceilings up to 8 feet high, a recommended chandelier chain length is 30 inches.
However, for ceilings higher than 8 feet, the standard clearance should be between 36 to 40 inches. You can calculate the precise chandelier height by subtracting the clearance from the ceiling height.
For instance, a 10-foot ceiling (120 inches) would require a chandelier to hang around 80 to 84 inches from the floor, providing ample clearance for an elegant look.
Consider the design and style of the chandelier
When selecting a chandelier, take into account the design and style that complements your space. Choose from a range of styles including traditional, modern, rustic, glam, or eclectic to align with your interior aesthetics.
Delve into the materials, colors, and shapes to ensure that the chandelier blends seamlessly with the ambiance of the room, enhancing its overall appeal.
Determine the desired hanging height
Apart from ceiling height and chandelier design, it’s essential to factor in the desired hanging height. In a dining room setting, the chandelier should be positioned to provide ample light while creating a captivating visual impact.
The recommended height for a dining room chandelier is 30 to 36 inches above the table’s surface. For instance, with a 12-foot ceiling, the chandelier should hang around 42 inches above the table, ensuring a perfect balance between functionality and aesthetics.
| Ceiling Height | Ideal Chandelier Chain Length |
|---|---|
| Up to 8 feet | 30 inches |
| Above 8 feet | 36 to 40 inches |
How to Hang a Chandelier with a Chain
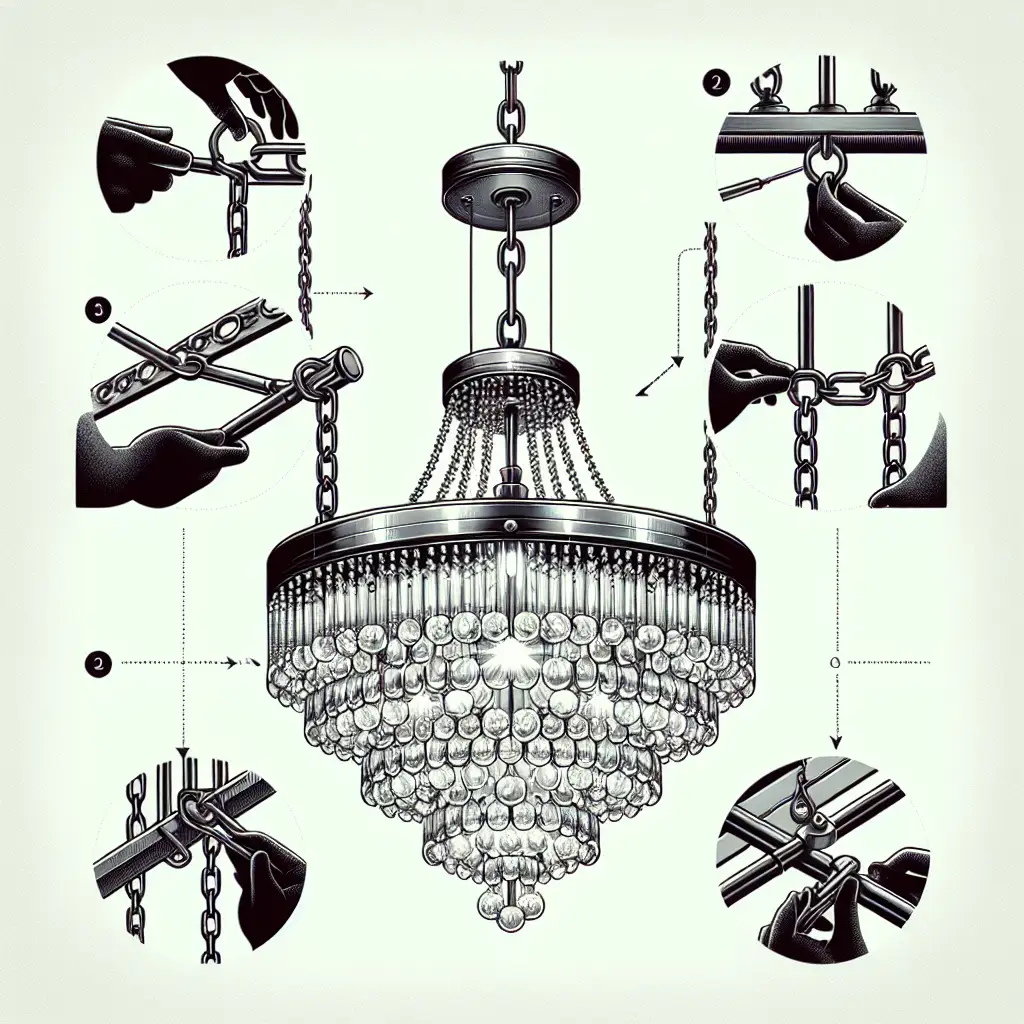
To successfully hang a chandelier with a chain, you will need the proper tools and materials. Some of the essential items include a tape measure, wire nuts, a mounting strap, an electrical box, a canopy, screws, and a chandelier chain.
These tools and materials will facilitate a smooth installation process.
Gather the necessary tools and materials
Ensure you have a tape measure, wire nuts, a mounting strap, an electrical box, a canopy, a chandelier chain, screws, and any other required tools and materials before beginning the installation.
Turn off the power to the existing light fixture
For safety purposes, it’s critical to turn off the power to the existing light fixture to avoid any electrical accidents during the installation.
Remove the old light fixture and electrical box
Carefully remove the old light fixture and the electrical box from the ceiling, ensuring to disconnect all wires safely.
Install the mounting strap and electrical box
Following the manufacturer’s instructions, install the mounting strap and the electrical box securely to the ceiling. This step is crucial for providing a stable base for the chandelier.
Attach the chandelier chain to the ceiling
Carefully attach the chandelier chain to the ceiling, ensuring it is properly aligned with the mounting strap and electrical box.
Connect the chandelier wires to the electrical supply
Using wire nuts, connect the chandelier wires to the electrical supply, ensuring a secure and proper connection.
Secure the chandelier canopy and adjust the chain length
Once the chandelier is in place, ensure the canopy is securely fastened to the ceiling. Adjust the chain length as necessary to achieve the desired positioning of the chandelier.
Turn the power back on and test the chandelier
After completing the installation, turn the power back on and test the chandelier to ensure it is functioning correctly and safely.
| Tools and Materials |
|---|
| Tape measure |
| Wire nuts |
| Mounting strap |
| Electrical box |
| Canopy |
| Chandelier chain |
| Screws |
Safety Tips for Hanging a Chandelier with a Chain
Ensure the electrical power is turned off To start, locating the electrical panel in your home is crucial. Once found, switch off the power to the room you will be working in by flipping the main circuit breaker to that room into the “off” position. It is also advisable to turn the light switch off and on in the room to ensure the electricity is off. Safety is key, and this step is non-negotiable.
Use a voltage tester to confirm the power is off After turning off the power, the next step is to confirm that the power is indeed off. This is where a voltage tester comes in. To test an electrical outlet with a contact voltage tester, insert each probe into the slots of the outlet, and if live, the voltage tester should beep, flash, vibrate, or a combination of the three. Alternatively, for a non-contact voltage tester, place the tip of it in the short slot of an electrical outlet, or touch the cord or bulb of a lit lamp.
Secure the chandelier canopy properly Lastly, it is important to ensure that the chandelier canopy is securely fixed. The right way to use the mounting bracket is to mount it to the ceiling box using the slots, unthreaded holes, or hickey, then mount the chandelier to the bracket. This step ensures that your chandelier is properly secured and reduces the risk of accidents.
| Electrical Power Step | Details |
|---|---|
| Locate the electrical panel in your home | This is where you will find the main circuit breaker to switch off the power to the room you will be working in. |
| Turn off the power | Flip the main circuit breaker to the “off” position for the room. Afterward, confirm the electricity is off by toggling the light switch. |
| Using a voltage tester | Insert the probes into the outlet slots to check for live electricity. Alternatively, use a non-contact voltage tester for the same. |
| Chandelier canopy security | Mount the chandelier bracket properly to ensure the chandelier is securely fixed. |

Maintaining and Cleaning a Chandelier
To keep your chandelier sparkling, it’s essential to maintain and clean it regularly. Dusting the chandelier with a soft, dry cloth should be a part of your routine maintenance.
Make sure to reach every nook and cranny to remove any gathering dust and grime that can dull its sparkle.
Use a soft, dry cloth to dust the chandelier regularly
Dusting your chandelier weekly will help prevent the build-up of dirt and keep it looking radiant. Use a soft, dry cloth or a duster to gently wipe away dust and debris.
Ensure to approach the chandelier with caution, focusing on each individual crystal or ornament. This process helps to maintain the chandelier’s shine and elegance.
Gently clean the chandelier with a mild cleaning solution and soft cloth if necessary
When regular dusting isn’t sufficient, a mild cleaning solution and a soft cloth can be used for a deeper clean. Mix one part isopropyl alcohol with four parts distilled water to form a gentle cleaning solution.
Alternatively, a solution of one part white distilled vinegar to two parts water can also be effective for cleaning the crystals on your chandelier. Carefully moisten the cloth with the solution and wipe each crystal carefully to ensure a thorough clean.
It’s essential to maintain the chandelier’s sparkle by regularly dusting and gently cleaning it, ensuring it remains a captivating centerpiece in your home. By following these maintenance practices, you can enjoy the enduring beauty of your chandelier for years to come.
| Chandelier Maintenance Tips |
|---|
| * Use a soft, dry cloth to regularly dust the chandelier |
| * Gently clean with a mild cleaning solution and soft cloth if necessary |
Question: How to Safely Install a Chandelier with a Chain?
To safely install a chandelier with a chain, follow these steps: Use a voltage tester to confirm that the power is off before starting any electrical work, making sure to look for visual and audible signals from the tester to indicate live current. Then, securely fasten the chandelier canopy to the ceiling box to provide support for the chandelier, ensuring that the screws or bolts are tightened securely. Finally, turn off the power to the existing light fixture at the electrical panel before beginning the installation process, to prevent the risk of electrical shock or injury.
Use a voltage tester to confirm the power is off
To ensure safety, using a voltage tester is crucial to confirm that the power is off before beginning any electrical work. The voltage tester should be inserted into the outlet to check for an electrical current, and it will ideally flash, beep, or both to indicate that the outlet is live.
This step is non-negotiable and ensures that no electrical current is flowing to the chandelier while you are installing it.
Secure the chandelier canopy properly
The chandelier canopy should be securely fastened to the ceiling box to provide support for the chandelier. To do this, ensure that the screws or bolts are tightened securely to hold the canopy in place.
Once the canopy is firmly secured, it will provide the necessary support for the chandelier and prevent any potential safety hazards.
Turn off the power to the existing light fixture
Before installing the chandelier, it is essential to turn off the power to the existing light fixture at the electrical panel. This step is critical for safety and helps to prevent the risk of electrical shock or injury during the installation process.
By turning off the power, you can work on the chandelier without the danger of live electrical currents, ensuring a safe and secure installation process.
| Voltage Tester Tips |
|---|
| Use a voltage tester to confirm that the power is off before starting any electrical work. |
| Look for visual and audible signals from the tester to indicate live current. |
| Always follow safety protocols and double-check the power before working on electrical installations. |


