Check out this Youtube video: “How To Install a Light Fixture – YouTube” for a step-by-step guide on how to install ceiling lights in your home.

Contents
Preparing for Installation
Yes, it is crucial to conduct a thorough check of the existing wiring and electrical components in the designated area before beginning the installation process. This will help preemptively identify any potential issues and address them before proceeding with the installation.
Yes, it is pivotal to equip yourself with the essential tools and materials for a successful ceiling light installation. Gathering items such as a Phillips screwdriver, tape measure, laser level, and safety equipment will streamline the installation process and ensure that you have everything you need at your fingertips.
Yes, gathering these tools and materials in advance will help to avoid unnecessary delays and interruptions during the installation process, thus ensuring a smooth and efficient installation.
Checking for wiring and electrical components
Before beginning the installation process, it is crucial to conduct a thorough check of the existing wiring and electrical components in the designated area. The following key steps should be included in the inspection:
-
Electrical Meter: Verify the functionality of the electrical meter to ensure that the power supply is stable and meets the requirements for installing ceiling lights.
-
Circuit Breaker Capacity: Examine the circuit breaker to confirm that it can accommodate the additional electrical load from the new lights without overloading the system.
-
Inspect Electrical Wires: Carefully examine the condition of the electrical wires to detect any signs of wear, damage, or improper insulation. This assessment is vital for guaranteeing the safety and reliability of the installation.
By rigorously checking these electrical components, you can preemptively identify any potential issues and address them before proceeding with the installation.
Gathering necessary tools and materials
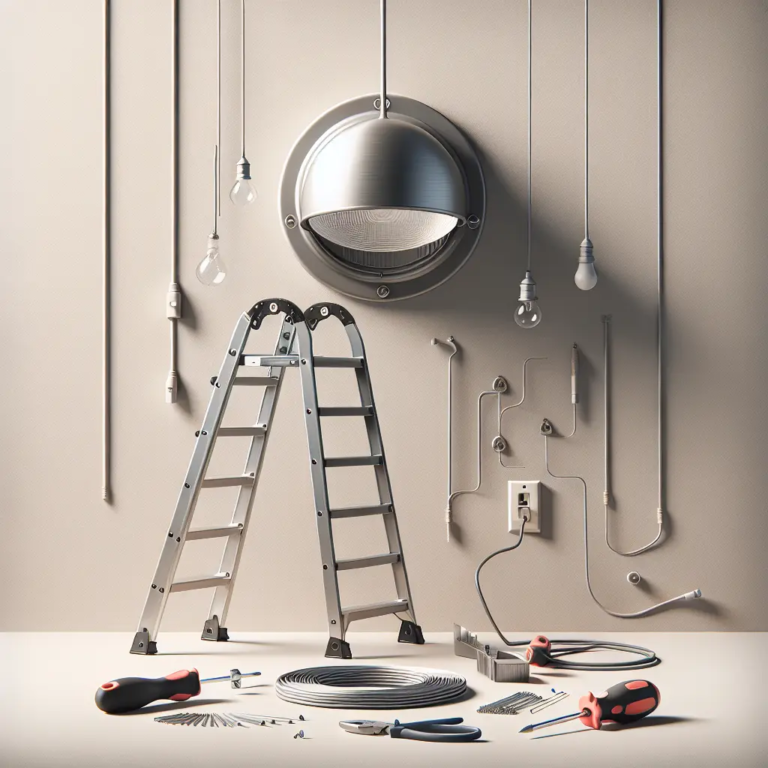
Equipping yourself with the essential tools and materials is pivotal for a successful ceiling light installation. Below are the primary items and equipment that should be prepared:
-
No. 2 Phillips Screwdriver: This screwdriver is frequently used for installing electrical fixtures and is essential for securing the light in place.
-
Tape Measure: Accurately measuring the installation area will aid in determining the appropriate placement and spacing of the ceiling lights.
-
Laser Level: Ensuring precise alignment and positioning, a laser level guarantees that the lights are installed uniformly and aesthetically pleasing.
-
Safety Precautions: Don’t forget to gather necessary safety equipment like safety goggles, gloves, and a voltage tester to minimize the risk of accidents during the installation process.
By collecting these tools and materials in advance, you can streamline the installation process and ensure that you have everything you need at your fingertips, thus avoiding unnecessary delays and interruptions.
Installing the Ceiling Light Fixture
To install the ceiling light fixture, start by turning off the power at the circuit breaker panel and confirming the absence of electrical current with a voltage tester. Next, remove the existing fixture by disconnecting the wiring and carefully lowering it down. Then, connect the new fixture by attaching the mounting strap, matching and connecting the wires, securing the connections with wire nuts, and affixing the fixture in place according to the manufacturer’s instructions.
Turning off the power
Before embarking on any light fixture installation, ensuring safety by turning off the power is crucial. Locate the circuit breaker panel and flip the switch that controls the light fixture’s power supply.
It’s also advisable to use a voltage tester to confirm that there is no electrical current running to the fixture. This additional step guarantees a safe and risk-free working environment.
Removing the existing light fixture
To remove the existing ceiling light fixture, start by taking down the canopy or any covering present. Next, loosen and disconnect the wiring by unscrewing the wire nuts and separating the wires.
As a safety precaution, it is essential to use a voltage tester again before physically detaching the fixture to confirm that there is no residual electrical charge. Once confirmed, unscrew the mounting hardware and carefully lower the fixture down, ensuring not to damage any surrounding structures.
Connecting the new ceiling light fixture
When connecting the new ceiling light fixture, begin by attaching the mounting strap or bracket to the electrical box. Next, carefully connect the wires from the fixture to the corresponding wires in the electrical box, ensuring to match the colors (black to black, white to white, and green or copper to the ground wire).
Secure the connections with wire nuts and neatly tuck the wires back into the electrical box. Finally, affix the fixture in place by following the manufacturer’s instructions, and securely fasten the canopy or cover to complete the installation.
Question: How to Safely Connect the Wires?
When securing the connections with wire nuts, ensure that the wires are stripped to the appropriate length, usually around 3/4 inch, for a secure fit. Twist the stripped ends of the wires tightly together before placing the wire nut over the connection. Use pliers to twist the wire nut in a clockwise motion until it is snug. Give the wires a tug to make sure they are securely connected. Remember, safety first, as loose connections can lead to electrical hazards.
To double-check the connections before closing up the fixture, use a voltage tester to ensure that there is no current flowing through the wires. Turn off the power source and carefully examine the connections for any exposed wire or loose connections.
It’s crucial to verify that the wires are inserted fully into the wire nut and that there are no stray strands. Additionally, check for proper insulation and ensure there is no bare wire exposed that could lead to a short circuit.
Always exercise caution and attention to detail to prevent any potential safety risks.
Testing for Electrical Continuity
Before securing the connections, it’s essential to test for electrical continuity to ensure the wires are properly connected and the circuit is complete. Use a multimeter or continuity tester to verify that the current can flow through the entire circuit without obstruction.
This step helps in identifying any loose connections or wiring issues that need to be addressed before finalizing the installation.
Importance of Proper Insulation
Proper insulation is crucial to safely connecting the wires. Use electrical tape to wrap the exposed wires, providing an additional layer of protection and safeguarding against any potential contact with other conductive materials.
This step is essential to prevent electrical shocks, shorts, or other safety hazards, ensuring a secure and reliable electrical connection.
Safety Precautions and Best Practices
Adhering to safety precautions and best practices is fundamental when working with electrical wiring. Always turn off the power at the main circuit breaker before making any connections.
Wear insulated gloves and use insulated tools to minimize the risk of electrical shock. Additionally, it’s advisable to have a fire extinguisher readily accessible in the vicinity as a precautionary measure.
Professional Consultation and Evaluation
If there is any uncertainty or complexity involved in the wiring process, it’s advisable to seek professional consultation and evaluation. An experienced electrician can provide invaluable guidance and insight, ensuring the safe and compliant installation of ceiling lights while adhering to electrical codes and standards.
Final Verification and Quality Assurance
After completing the wiring connections, perform a final verification to confirm that all the connections are secure and properly insulated. Inspect the entire wiring assembly and assure that no wires are pinched or crimped during the installation process.
It’s essential to prioritize the integrity and safety of the electrical connections to prevent potential hazards.
Ongoing Maintenance and Inspection
Regular maintenance and inspection of the wiring connections are imperative to ensure their ongoing safety and functionality. Periodically check for any signs of wear, damage, or degradation in the connections, and promptly address any issues to maintain the integrity of the electrical system.
Compliance with Electrical Codes
Ensure that the wiring process aligns with the applicable electrical codes and regulations. Adhering to these standards is essential for ensuring the safety and legality of the electrical installation, safeguarding against potential hazards and liabilities.
| Safety Tip | Description |
|---|---|
| Turn Off Power | Always switch off the power supply before working on electrical wiring to prevent accidental shocks or injuries. |
| Secure Connections | Properly securing the connections with wire nuts and testing for continuity is vital to establishing a safe electrical circuit. |
| Insulation Protection | Utilize electrical tape to insulate exposed wires effectively, minimizing the risk of electrical hazards. |
| Professional Guidance | Seeking the expertise of a qualified electrician for intricate wiring tasks can provide invaluable assurance of safety and compliance. |
Remember, attention to detail and rigorous safety measures are paramount when handling electrical connections, ensuring a secure, reliable, and hazard-free installation of ceiling lights.
Testing and Finalizing the Installation
To begin testing and finalizing the installation process for the ceiling lights, the first crucial step is to turn the power back on. This begins by safely restoring the power supply to the light fixture’s circuit.
After ensuring the correct breaker is identified and turned on, verify that the light switch is in the “off” position before executing this step to avoid any electrical hazards.
Turning the Power Back On
Once the power is restored, it’s essential to utilize a multimeter to test the unwired light fixture. This involves confirming the presence of electricity and ensuring that the wiring connection is intact.
By using a multimeter, one can effectively gauge the current flow, enabling a thorough assessment of the fixture’s readiness for operation.
Testing the Light and Making Any Necessary Adjustments
Following the power restoration, the next step involves testing the ceiling lights and making any adjustments deemed necessary. This process entails flipping the light switch to the “on” position and observing the functionality of the newly installed light fixture.
As the lights illuminate, carefully inspect the entire fixture to check for any flickering, dimness, or irregularities. Should any issues arise, promptly address them by conducting rigorous troubleshooting and necessary adjustments.
Closing Up the Fixture and Cleaning Up the Work Area
With the successful testing and adjustment of the ceiling lights, the final step is to close up the fixture and clean up the work area. This comprises securing the fixture in its designated position, ensuring all connections are secure and screwing the fixture into place.
Additionally, it is vital to tidy up the work area by removing any debris, excess materials, and performing a thorough cleanup to leave the installation site immaculate.
To sum up, by meticulously turning the power back on, testing the light and making any essential adjustments, and effectively closing up the fixture while tidying the work area, the installation of ceiling lights is concluded with precision and safety at the forefront.

