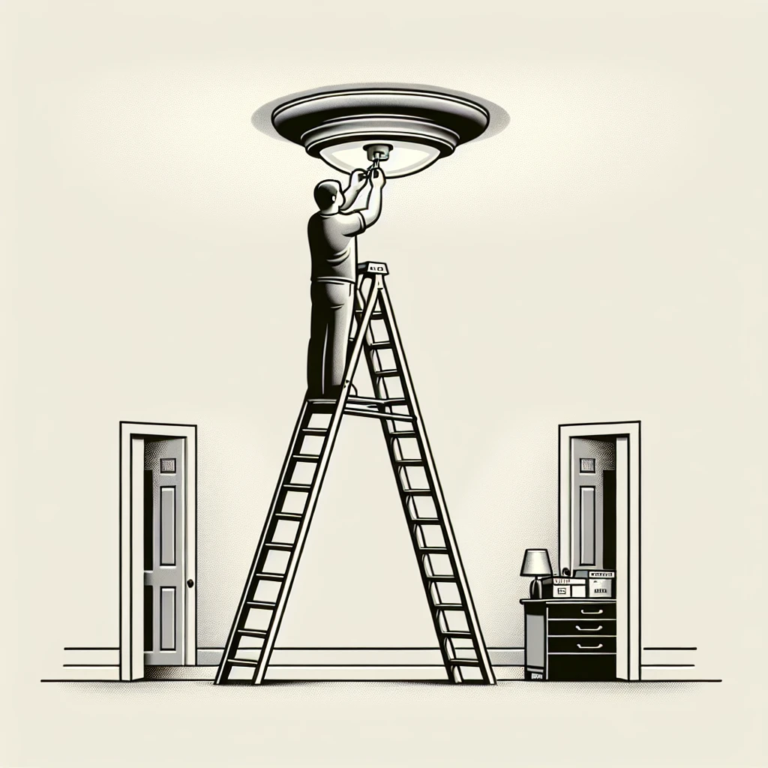
Check out this YouTube video: “Modern Ceiling Lights (how to install) — by Home Repair Tutor” for a step-by-step guide on how ceiling lights are attached and how to install them in your home.

Contents
The Importance of Properly Attaching Ceiling Lights
The importance of properly attaching ceiling lights cannot be overstated. A securely attached ceiling light is crucial to ensuring safety within a space, as it reduces the risk of electrical hazards, such as short circuits, sparks, and fires. It also ensures proper functionality, as securely attached lights are less prone to flickering, dimming, or failing to illuminate as intended. Therefore, following correct installation procedures, hiring a qualified electrician, and conducting thorough inspections are essential for a well-lit, safe, and functional living or working environment.
Ensuring Safety
Properly attaching ceiling lights is crucial to ensuring safety within your home or workspace. When ceiling lights are not properly attached, there is a risk of electrical hazards, such as short circuits, sparks, or even fires. This can pose a significant danger to the occupants of the space and can lead to costly repairs or replacements. To mitigate these risks, it is essential to follow the correct installation procedures and ensure that the wiring and fixtures are securely in place.
One way to ensure safety when attaching ceiling lights is to hire a qualified electrician to handle the installation. Electricians have the expertise and experience to carry out the installation in accordance with safety standards and building codes. Additionally, they can identify any potential issues with the electrical system and address them proactively, reducing the risk of safety hazards.
Another safety consideration is to conduct a thorough inspection of the electrical components before and after the installation. This includes checking the wiring, connections, and electrical boxes for any signs of damage or wear. It is also important to use the correct tools and materials for the installation to minimize the risk of accidents or injuries.
Proper Functionality
In addition to safety, properly attaching ceiling lights is essential for ensuring their proper functionality. When lights are not securely attached, they may flicker, dim, or fail to illuminate as intended. This can result in inconvenience and affect the overall ambiance and functionality of the space.
To achieve proper functionality, it is important to follow the manufacturer’s instructions carefully during the installation process. This includes using the recommended hardware, such as screws and brackets, to secure the fixture in place. Additionally, proper alignment and positioning of the ceiling lights are essential to ensure even illumination and optimal light distribution.
Furthermore, considering the longevity of the ceiling lights is essential for proper functionality. Securely attached fixtures are less prone to damage and can withstand the test of time, providing consistent and reliable lighting. Properly attached ceiling lights can also contribute to energy efficiency, ensuring that the fixtures operate optimally without unnecessary power consumption or performance issues.
The importance of properly attaching ceiling lights cannot be overstated. From ensuring safety to maintaining proper functionality, adhering to best practices for installation is essential for a well-lit, secure, and functional living or working environment.
Understanding the Different Types of Ceiling Lights
Chandeliers, pendant lights, flush mounts, and recessed lighting are four main types of ceiling lights. Chandeliers come in traditional, modern, transitional, glam, coastal, and rustic styles. Pendant lights offer versatility with a variety of materials like glass, metal, ceramic, fabric, wood, marble, and stone. Flush mounts are best for low ceilings and come in traditional to modern designs with materials like glass, fabric, metal, and crystal. Recessed lighting involves installing light fixtures into the ceiling, offering a streamlined and unobtrusive lighting solution for any space.
Chandeliers
Chandeliers are ornate, statement lighting fixtures that are often suspended from the ceiling. They come in a variety of styles including traditional, modern, transitional, glam, coastal, and rustic. Traditional chandeliers typically feature classic designs with intricate details, while modern chandeliers boast sleek, minimalist aesthetics. On the other hand, transitional chandeliers blend traditional and contemporary elements, making them versatile for various home decor styles. Glam chandeliers add a touch of luxury with dazzling crystals and metallic finishes, whereas coastal chandeliers evoke a relaxed, beachy atmosphere. Finally, rustic chandeliers exhibit natural elements such as wood and wrought iron, perfect for a cozy, countryside feel.
Pendant Lights
Pendant lights are versatile and stylish ceiling fixtures that are suspended using a rod, chain, or cord. They come in various materials such as glass, metal, ceramics, fabric, wood, marble, and stone. Glass pendant lights offer a delicate and airy ambiance, while metal pendant lights provide a more industrial and modern aesthetic. Ceramic pendant lights bring a touch of artisanal charm, and fabric pendant lights contribute to a soft and cozy atmosphere. Wood pendant lights introduce a natural, earthy feel, while marble and stone pendant lights add a touch of elegance to any space.
Flush Mounts
Flush mounts, also known as semi-flush mounts, are ceiling fixtures that are mounted directly against the ceiling without any gaps or stems. They are ideal for low ceilings and provide efficient, ambient lighting. Flush mounts come in a variety of designs, ranging from traditional to modern, and can feature materials such as glass, fabric, metal, and crystal. They are perfect for hallways, bedrooms, entryways, and kitchens, offering both illumination and style while maintaining a low-profile aesthetic.
Recessed Lighting
Recessed lighting involves installing light fixtures into the ceiling, creating a streamlined and unobtrusive lighting solution. The optimal aiming angle to minimize glare is 30-degrees from the ceiling, ensuring a comfortable and well-distributed illumination. Recessed lights are commonly installed in kitchens, living rooms, dining rooms, hallways, bathrooms, bedrooms, and even outdoor spaces. They offer versatility and functionality, seamlessly blending into any interior decor while providing focused, ambient, or accent lighting as needed.
Step-by-step Guide: How Are Ceiling Lights Attached?
Before starting the installation process, gather all the necessary tools and put on safety gloves and goggles. Switch off the power to the circuit where the ceiling light is being installed and ensure it is truly off using a voltage tester. Remove the old fixture by unscrewing any screws or bolts and lower it carefully to expose the wiring. Then, follow the manufacturer’s instructions to install the new fixture, secure the mounting bracket, connect the matching wires, and attach the fixture to the ceiling using the provided mounting hardware.
Preparation and Safety Measures
Before starting the installation process, it’s crucial to ensure your safety and be well-prepared. Gather all the necessary tools such as a voltage tester, wire strippers, and a screwdriver.
Additionally, put on safety gloves and goggles to protect yourself from any electrical hazards.
Switch off the Power
Safety should always come first when dealing with electrical components. Prior to any work, turn off the power to the circuit where the ceiling light is being installed.
Locate the circuit breaker in your electrical panel and switch off the corresponding breaker. For added safety, use a voltage tester to confirm that the power is truly Off.
Removing the Old Fixture
Begin by removing the existing light fixture. Depending on the type of fixture, you may need to unscrew any screws or bolts holding it in place.
Once the screws are removed, carefully lower the fixture to expose the wiring. Remember to handle the fixture with care to avoid damaging it or causing injury.
Installing the New Fixture
With the old fixture removed, it’s time to install the new one. Follow the manufacturer’s instructions for your specific light fixture.
This typically involves securing the mounting bracket to the ceiling and connecting the wires from the fixture to the corresponding wires in the electrical box.
Wiring the Light
Carefully connect the matching wires from the light fixture to the corresponding wires in the electrical box. Typically, this involves connecting the black (hot) wires, white (neutral) wires, and green or bare (ground) wires.
Use wire connectors to securely fasten the connections and ensure there are no loose ends.
Attaching the Fixture to the Ceiling
Once the wiring is complete, securely attach the fixture to the ceiling using the provided mounting hardware. Ensure that the fixture is level and stable before tightening any screws.
Finally, install the appropriate light bulbs and any other components as per the manufacturer’s instructions.
Common Mistakes When Attaching Ceiling Lights
One of the common mistakes when attaching ceiling lights is overlooking safety precautions, such as turning off the power at the breaker and using non-contact voltage testers. Another mistake is making incorrect wiring connections, which can lead to malfunctioning lights or safety hazards. Additionally, using the wrong tools for the installation can damage the fixture, wiring, or cause harm to the installer.
Overlooking Safety Precautions
When attaching ceiling lights, one of the most common mistakes people make is overlooking safety precautions. This can lead to hazardous situations, such as electric shocks or even fires.
Safety precautions include ensuring the power is turned off at the breaker, using proper insulation for wiring, and following manufacturer’s guidelines. Additionally, using a non-contact voltage tester can help identify live wires and prevent accidents.
Incorrect Wiring
Another mistake to avoid when attaching ceiling lights is incorrect wiring. It’s crucial to understand the wiring requirements for the specific light fixture being installed.
Failure to connect the wires properly can result in malfunctioning lights or, even worse, pose a safety hazard. Always double-check the wiring connections before turning the power back on to prevent any mishaps.
Using the Wrong Tools
Using the wrong tools is a significant mistake to avoid during the installation of ceiling lights. Utilizing inappropriate tools can damage the fixture, wiring, or even cause harm to the installer.
Always ensure you have the necessary tools such as a 4-in-1 screwdriver, wire stripper/cutter, needle-nose pliers, and a stepladder to safely and correctly install the ceiling lights. It’s essential to use tools that are designed for electrical work to prevent any mishaps and ensure a smooth installation process.
It is vital to think about the impact of the content and the key takeaways for the readers. Summarizing the main ideas and emphasizing the key points can reinforce the message of the entire piece.
By synthesizing the essential information without merely repeating it, you can leave a lasting impression on the audience.
Effective conclusions should not only recapitulate the main points but also provide a sense of closure and significance. It’s essential to play the “So What” game, demonstrating why the insights presented matter and how they can resonate with the readers.
This technique elevates the conclusion from a mere summary to a meaningful reflection of the content’s implications.
Moreover, the conclusion can serve as an opportunity to revisit the themes introduced in the introduction, reinforcing the overall coherence of the piece. Additionally, addressing opposing viewpoints further strengthens the argument presented, compelling the readers to align with the author’s perspective.
Lastly, a powerful blog conclusion aims to give the readers clear takeaways while moving them to action. Whether it’s reinforcing the main message or motivating the audience to engage further, the conclusion plays a crucial role in leaving a lasting impression on the readers.
| Steps to a Compelling Conclusion |
|---|
| 1. Summarize the main ideas |
| 2. Play the “So What” Game |
| 3. Revisit the themes |
| 4. Address opposing viewpoints |
| 5. Motivate reader action |


